How do I set up KidiCom Chat™ on a smartphone or tablet?
KidiCom Chat™ is compatible with the following smartphones:
- iPhone 6 or above with iOS 10 or above
- Android smartphones with Android 6 or above and a suggested resolution of 800x480 or above
Tablets that meet the operating system requirements can also be used. The display is not optimized for a tablet though, so some graphical elements may appear out of alignment.
First, download the app from the App Store or Google Play. You can find it by searching for "KidiCom Chat" in either store, or check your email for a welcome message from VTech with links to download the app. Once the app is installed on your device, follow the appropriate set of instructions below.
If you are a parent, follow the instructions in the Instructions for Parents section.
If you are a relative, follow the instructions in the Instructions for Relatives section.
If you are a parent, follow the instructions in the Instructions for Parents section.
If you are a relative, follow the instructions in the Instructions for Relatives section.
Instructions for Parents
The parent who registered the child's KidiBuzz™ should use the Learning Lodge® account that was created during registration to sign in to the KidiCom Chat™ app. This account is considered the family account, and only this parent will be able to manage the child's profile and contact list.
If you wish to add another parent to the family, they should choose to "Sign Up for Learning Lodge" and create a new Learning Lodge® account. Then follow the instructions in the Instructions for Relatives section below.


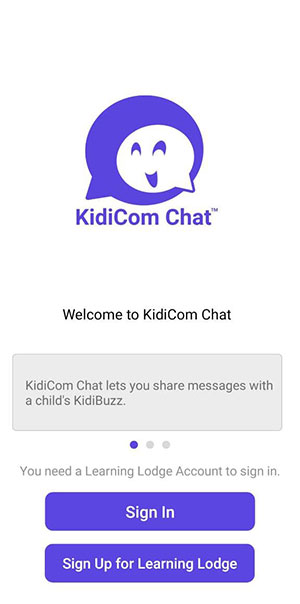
Touch "Sign In" to sign in to your Learning Lodge® account.

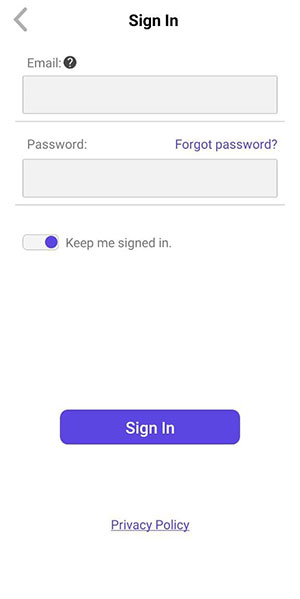
Enter your Learning Lodge® account email address and password on the next screen, then touch the "Sign In" button.

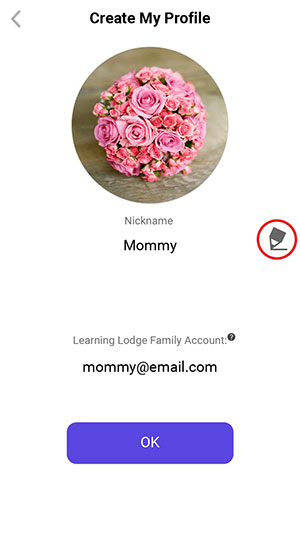
Now it's time to create your profile. Touch the pencil icon to edit your name.

Use the onscreen keyboard to enter your name. We recommend you use a name that will make it easy for others to recognize you.
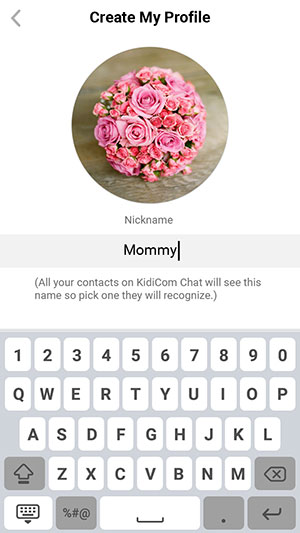

Return to the "Create My Profile" page and touch the profile picture to edit your picture.
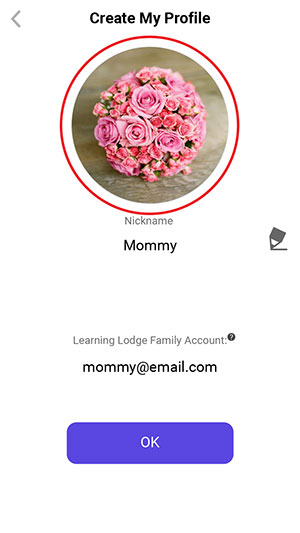

In Profile picture review screen, tap on the Pencil Icon if you want to change your profile picture.


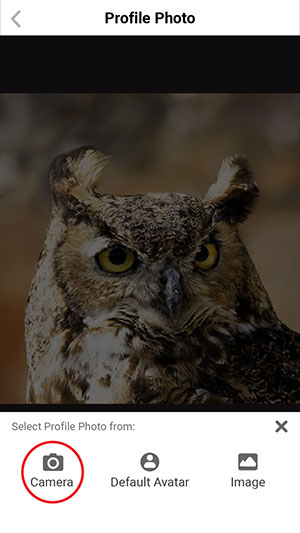
If you want to take a picture as your profile photo, touch the Camera.


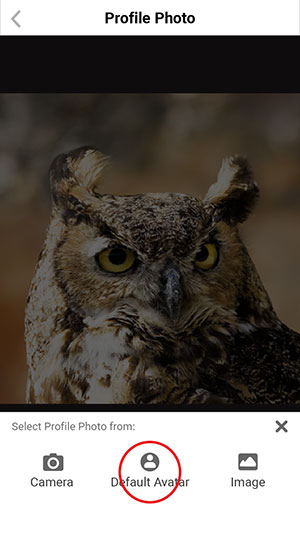
If you want to use a preset image as your profile photo, touch Default Avatar.


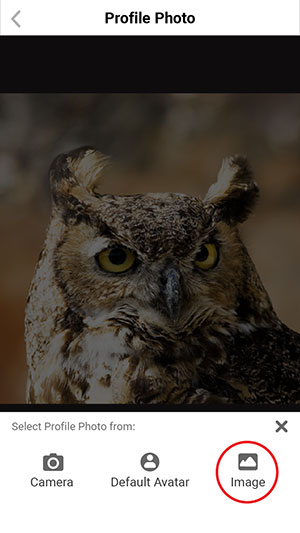
If you want to use a photo from your album as your profile photo, touch Image.


In Camera Mode, touch the shutter icon to take a photo or touch the X button to go back.


If you chose to use an avatar as your profile picture, in the Default Avatar Screen, touch an avatar to choose it.


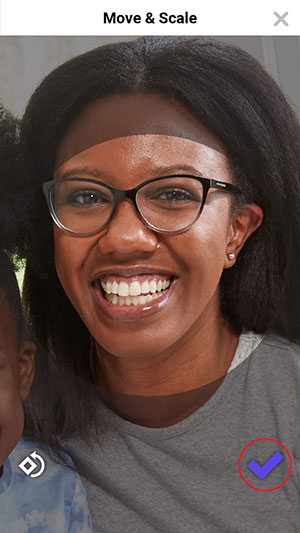
After you set any image as your profile picture, you can pinch to move and scale it. Touch the Checkmark Icon to confirm your settings

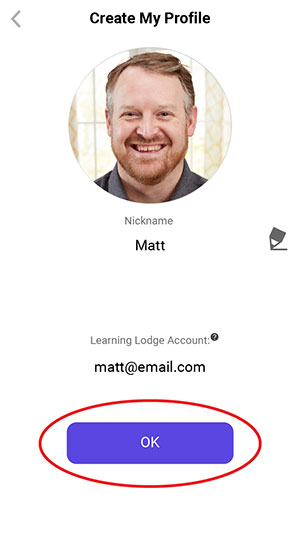
Once you're satisfied with your profile, touch "OK" to move on.
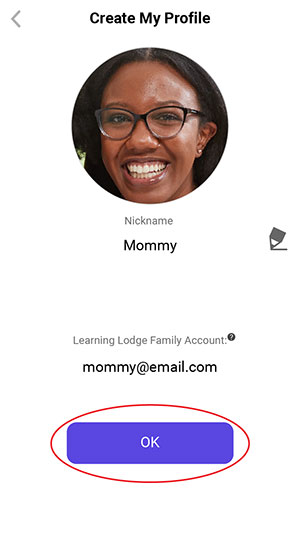

Next, you'll be asked to set up your child's profile. Follow the same steps to edit your child's profile name and image and touch "OK" when you're done.
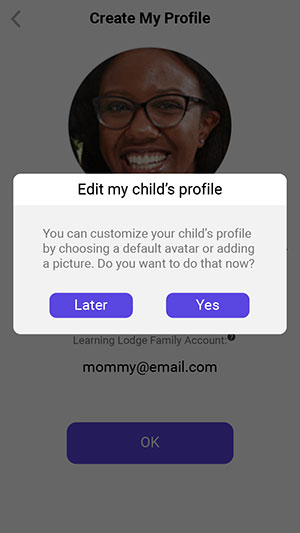

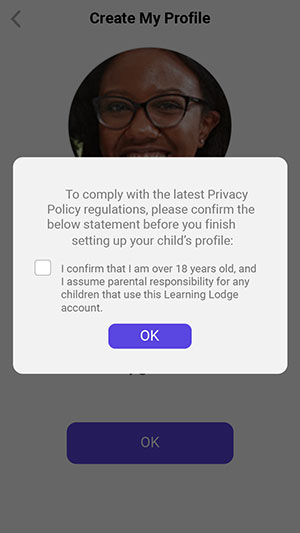
Before you can set up your child's profile, in accordance with Children's Online Privacy and Protection Act (COPPA) regulations, please confirm that you are over 18 years of age and assume responsibility for any children that use this Learning Lodge® account.

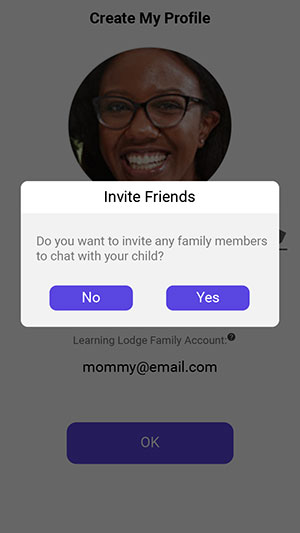
Once you've finished setting up your profiles, you'll be asked if you want to invite any family members to chat with your child. Select "Yes" if you'd like to do that now or "Later" to do it another time.

If you selected "Yes", choose how you would like to send the invitation then follow the steps you would normally follow for the type of message you selected.
Once you're done sending invitations, the setup process is done. You can now begin using KidiCom Chat™! Enjoy!
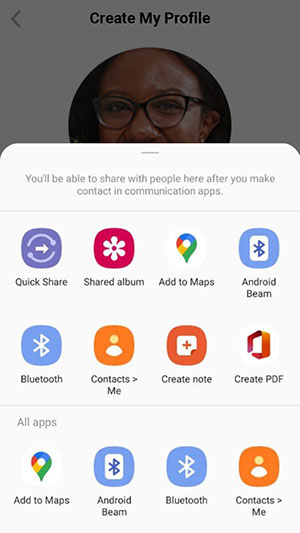
Once you're done sending invitations, the setup process is done. You can now begin using KidiCom Chat™! Enjoy!

Instructions for Relatives
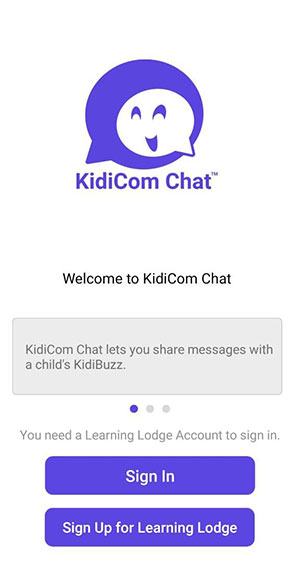
Touch "Sign Up for Learning Lodge" to create a new Learning Lodge® account.
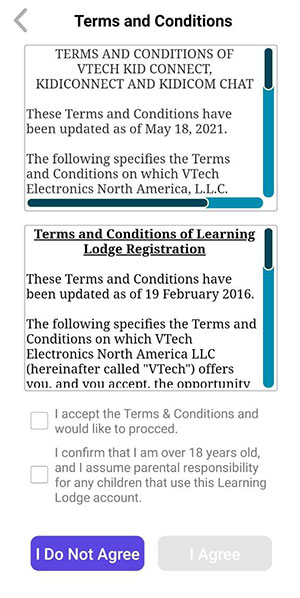
First, confirm that you are over 18 and that you accept the Terms and Conditions. Then touch "Accept".

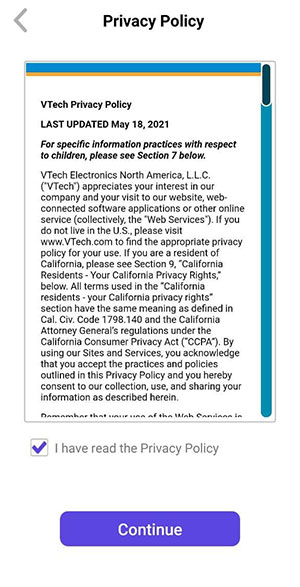
Next, review the Privacy Policy and check the box to confirm you have read it.

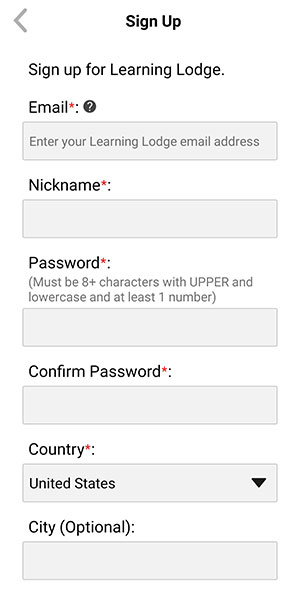
Fill in the information on the form.

When you get to the security check section, type the characters you see in the image into the text box below it.
If it's hard to read the characters, tap the reload icon to load a new picture.
When you're done filling out the form, touch "Submit".
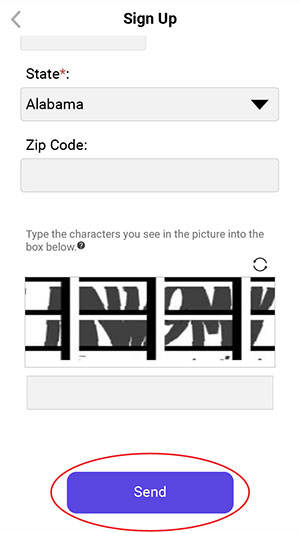
If it's hard to read the characters, tap the reload icon to load a new picture.
When you're done filling out the form, touch "Submit".

Check your email for a message from VTech.
Read the email and note the 6-digit Email Registration Code.
Return to the KidiCom Chat™ registration process and enter the Email Registration Code to verify your email address.
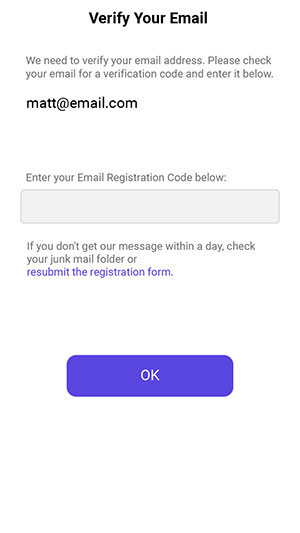
Read the email and note the 6-digit Email Registration Code.
Return to the KidiCom Chat™ registration process and enter the Email Registration Code to verify your email address.

Now it's time to create your profile. Touch the pencil icon to edit your name.
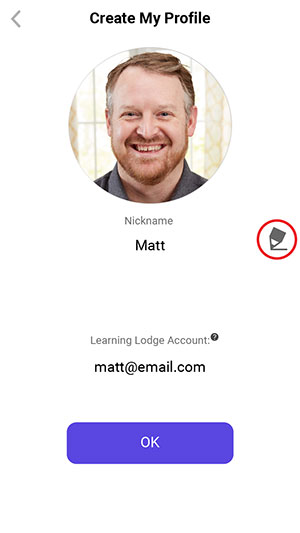

Use the onscreen keyboard to enter your name. We recommend you use a name that will make it easy for others to recognize you.
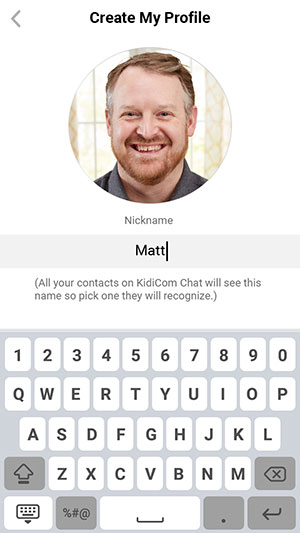

Return to the "Create My Profile" page and touch the profile picture to edit your profile picture.
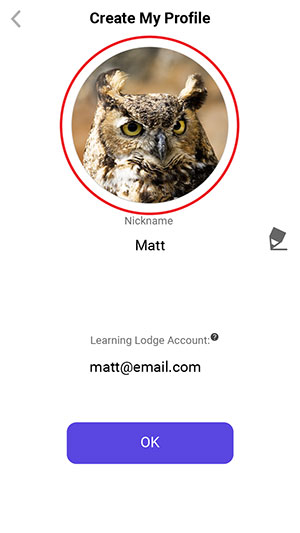

In Profile picture review screen, tap on the Pencil Icon if you want to change your profile picture.


If you want to take a picture as your profile photo, touch the Camera.

If you want to use a preset image as your profile photo, touch Default Avatar.

If you want to use a photo you've taken from your album as your profile image, touch the Image icon.

In Camera Mode, touch the shutter icon to take a photo or touch the X button to go back.
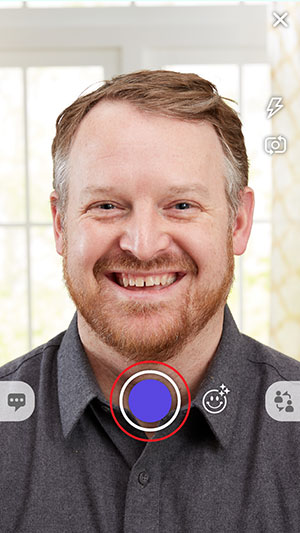

If you chose to use an avatar as your profile picture, in the Default Avatar Screen, touch an avatar to choose it.


After you select a picture to be your profile picture, you can pinch to move and scale it. Touch the Checkmark Icon to confirm your settings.
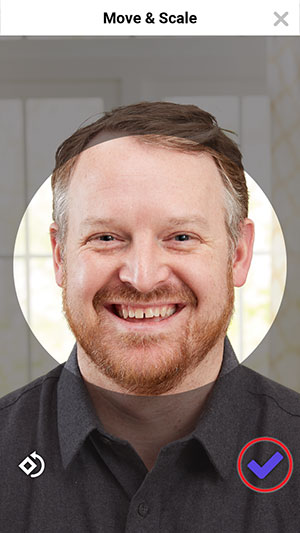

Once you're satisfied with your profile, touch "OK" to move on.

After a quick tutorial, you'll be taken to the Home Screen. There will be no preset friend on your home screen as you won't have any contacts yet. Touch the Add Friend option from the menu in the upper right corner to send a request to join a family group.
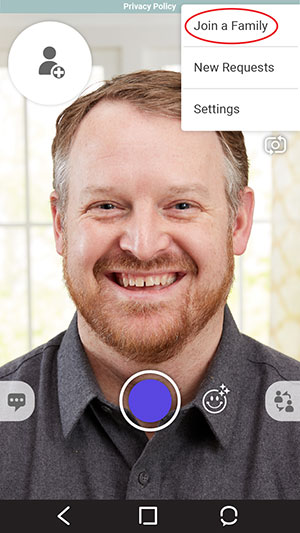

Before joining a family messaging group, you must confirm that you are over 18 years old and assume parental responsibility for any children who use your Learning Lodge® account.
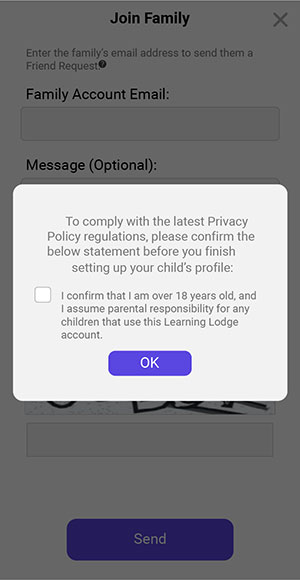

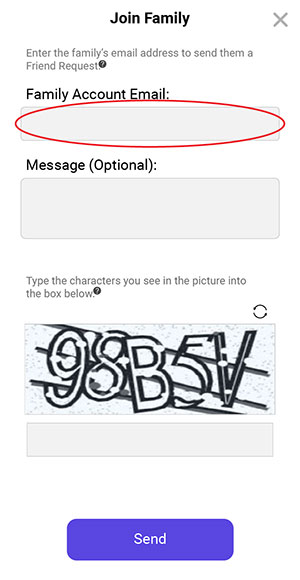
Enter the email address of the main Learning Lodge® account holder from the family you wish to join.

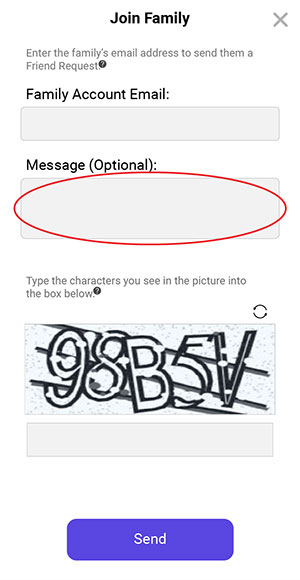
If you want to add a personal message to the parent, you can type it in the message box.

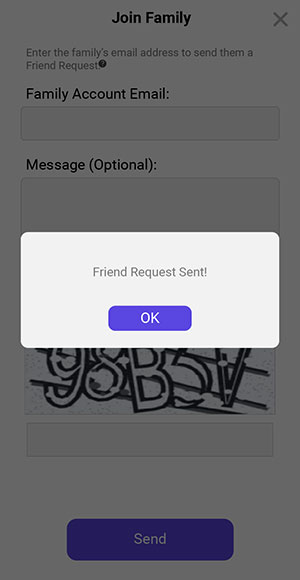
Finally, type the characters you see in the image into the box below it. If it's hard to read the characters, tap the reload icon to load a new picture. Or tap the speaker icon to read the characters out loud.
Touch the "Send" button when you're done.
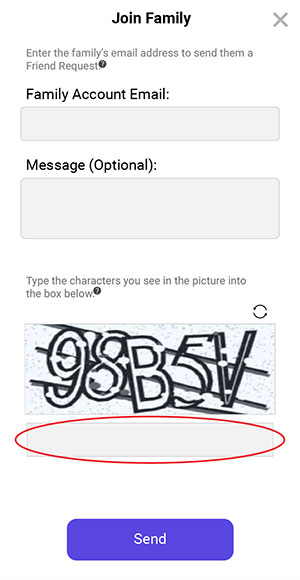
Touch the "Send" button when you're done.

A request will be sent to the parent in charge of the family. When the request is accepted, a new contact will appear in your chat list, and you can start sending messages.
